

Total Solar Eclipse observed from Venezuela on February 26th, 1998
Pre-Eclipse Page in Spanish Map of Path near Maracaibo

I have just returned from observing the last total solar eclipse, for this century, on the American continent. IT WAS AMAZING, to say the least.
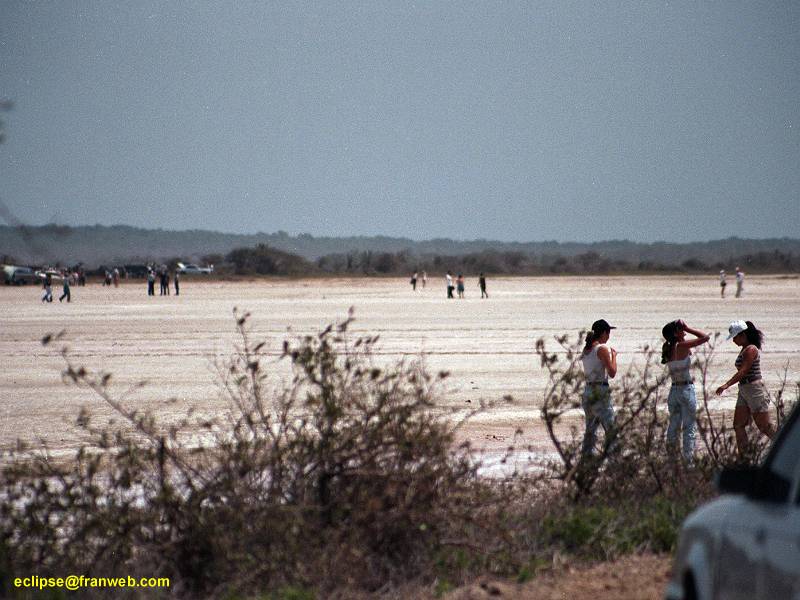
Observation Site
I was lucky to be traveling to Maracaibo city the day of the eclipse and was able to drive
down to the Sinamaica region to observe this phenomenon which started around 12:30pm and
ended around 3:30pm. Totality was reached around 2:05pm. The trip from Maracaibo to
Sinamaica was much shorter than expected even though there were lots of rumors of possible
traffic jams on the road to Sinamaica. Fortunately this was totally false and later we
reached newly paved roads where we have been told once were in poor conditions. We
actually arrived around 11:30am and decided to continue to the Sinamaica town to have some
food before commencing the long wait for totality. The town of Sinamaica is very small and
this event may be the most important one in the towns entire history. We had some
"empanadas" which are small corn toasts filled with cheese, and headed back to
the site. We instantaneously recognized the ground zero region as soon as we saw a brand
new monument and a couple of hundred people camped out with observation equipment on the
side of the main road. We parked our car along a recently flattened area and started
preparing the equipment.
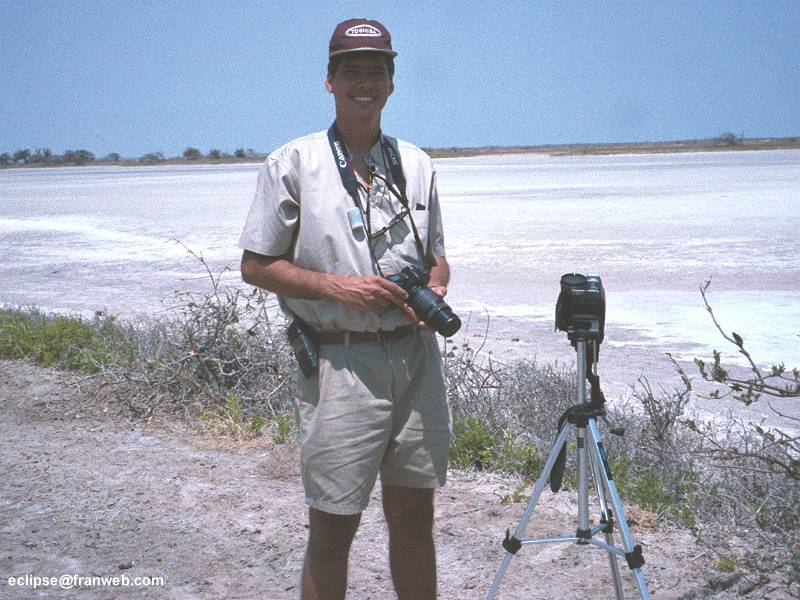
Photographic Equipment
I'm a Photography fan but not an astronomy fan so this is what I took: One Panasonic VHS-C
camcorder with 14x optical zoom capability, One Canon Rebel G with the Canon 75-300mm
f4.5-5.6 lens, One Samsung Point and Shoot camera and a tripod. I don't mention the
camcorder model since the model numbers vary from region to region, lets just say it's a
basic 98 model, recording speed was set at SLP and a Kodak EC 45 tape was used. Film used
was only print type: Kodak Gold III ASA 200, Fujicolor Super HG II ASA 200 and Scotch ATG
ASA 200. I set the tripod, which is an inexpensive video type, with the video camera and
started pointing it upwards to see how the sun appeared.
Here came my first problem. I had not experimented aiming the camera at the sun beforehand and even though the articles I had read indicated this could be done without any filters, the image appeared completely blurred, even setting the camera at 1/10,000 sec. shutter speed. I then proceeded to "cut" a piece of filter to place in front of the lens. I had brought a sheet of radiology film completely exposed and developed which resulted in a large sheet of very dark and uniform plastic. I cut a circular section just the size of my cameras filter diameter and placed a clear UV filter on it to keep it in place. This model camcorder has a 58mm filter adapter which is the exact size of my 75-300 lens for which I had a spare filter. I also cut a filter for my still camera and placed it under it's UV filter. After the filter placement the video camera was getting perfect exposure on the sun which appeared as a clearly defined white dot of around 1/4 the height of the field of view at 14x. I manually focused the camcorder and set the 1/10,000 sec. shutter speed.
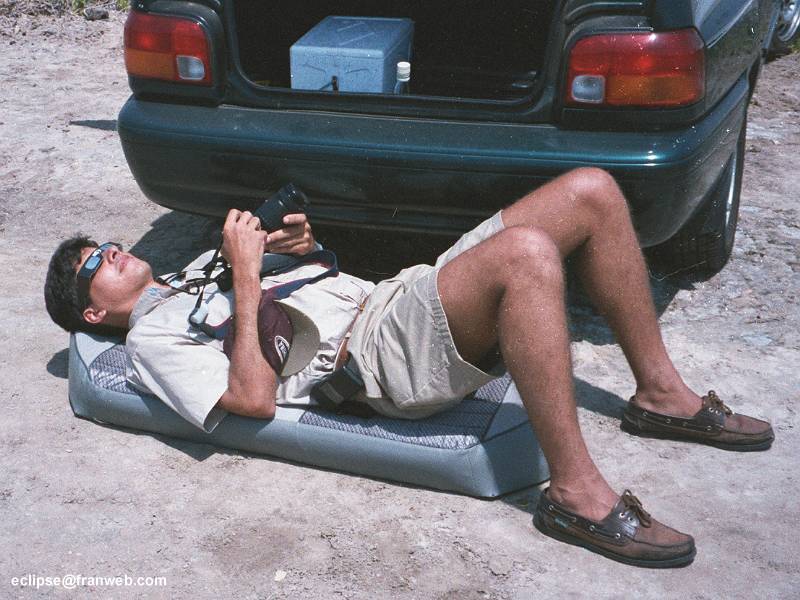
I then checked the still camera which also gave me a clear circular image close to the 300mm setting. I did have a problem with the still camera which when getting close to 300mm received some light through the sides of the cutout filter which appeared as a bright circle around the sun. I decided on not stopping to cut another filter and simply cover the border of the lens with my hand. The Point and Shoot was only used to take casual shots of the observation site and had the Scotch film which was the last of a batch I had and will never buy again, it doesn't have accurate color tones. Speaking of the film used, I was going to get some ASA 100 or slower film but didn't get a chance, actually I think the choice of ASA 200 was great since I was able to use higher speeds during totality and during the partial phases. I never take slides due to their high film and developing costs. In order to provide some comfort during the phenomenon I removed the back seat of our car and placed it on the floor behind the car which gave me a perfect viewing position using the car as a wind shield.
Regarding protective eyewear, I had bought some special glasses ("Eclipse Shadestm" http://www.rainbowsymphony.com ) which are Mylar covered cardboard glasses rated for direct solar viewing. The governor had issued free Mylar glasses which were being given out all over this area, but these were flimsy and had no ear legs. On the free Mylar sheets the printed "Safe for 10 second viewing during 1 minute periods" actually these glasses permitted much more light through them compared to my Eclipse Shades. Another surprise was the extreme wind found here. The wind wobbled the video camera and made photography with the still camera a challenge.
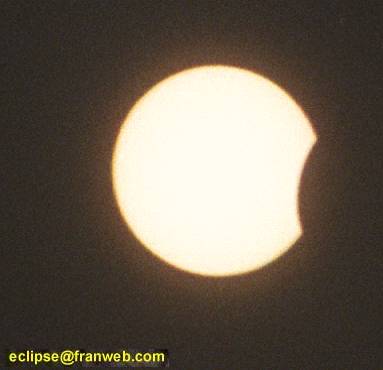
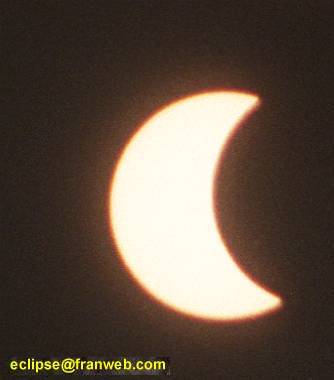
The First Partial Phase
As mentioned before this started around 12:30pm (16:30 UTC). Luckily the atmosphere was
perfectly clear of clouds which could have completely ruined our day. We were all looking
at the sun at the designated time until someone yelled out "Its starting, it's
starting, see it, to the right!". Yes, towards the right side of the sun a small
chunk was missing. I immediately aligned my camcorder and started recording. Then I went
to my comfortable viewing and shooting couch. Since the partial phase was going to last
around and hour and a half I decided on talking pictures about every 5 minutes and
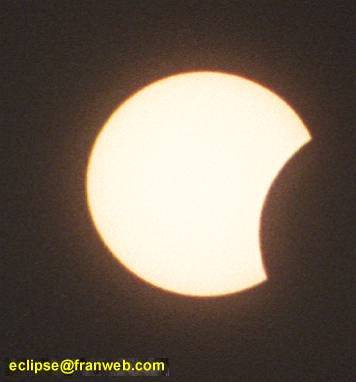
realigning the video camera about every 10 minutes. Slowly the small indentation on the
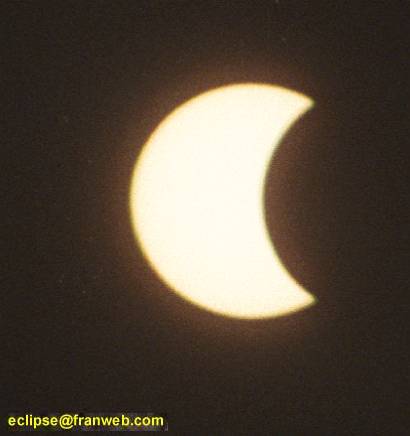
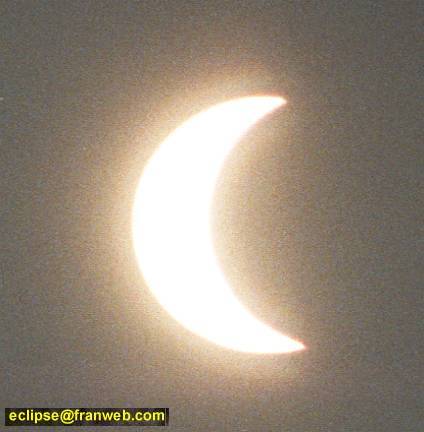
right of the sun started getting larger and more noticeable. Soon the sun appeared as a
moon, as seen trough the special glasses. We didn't appreciate any important decrease in
the sun's intensity until around an 80% coverage when we noticed the sun's rays weren't
burning our skin as before. The illumination didn't diminish appreciably until close to
totality. The wait for the climax of this extraordinary phenomenon was very long, but soon
to be worthwhile..
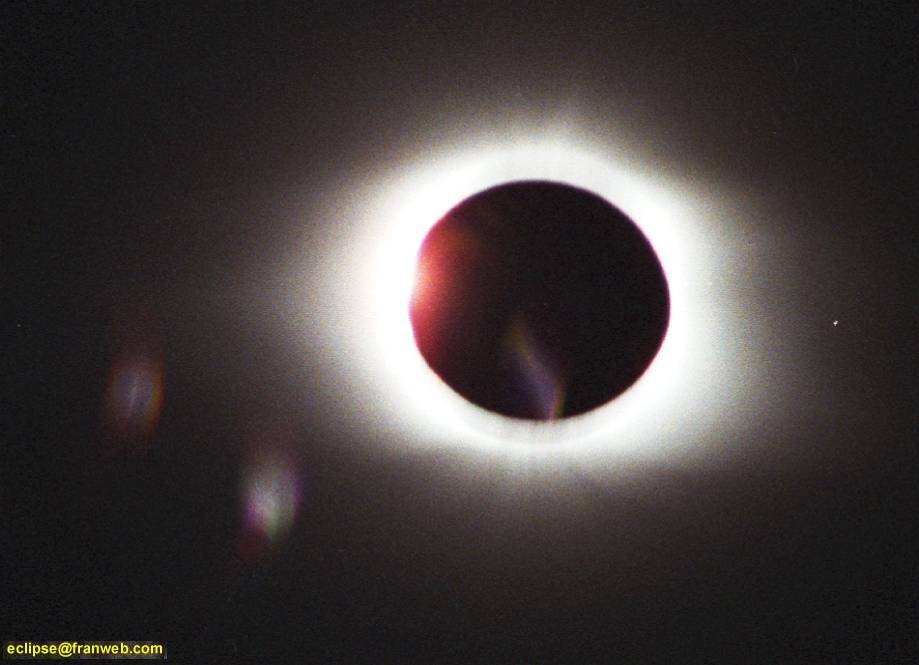
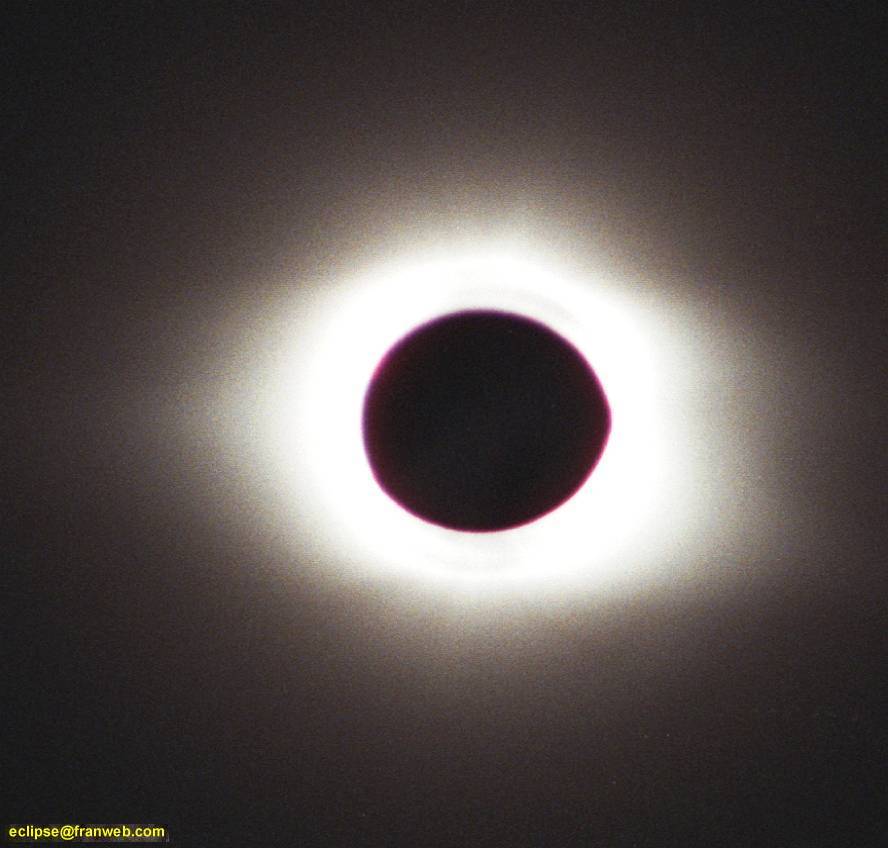
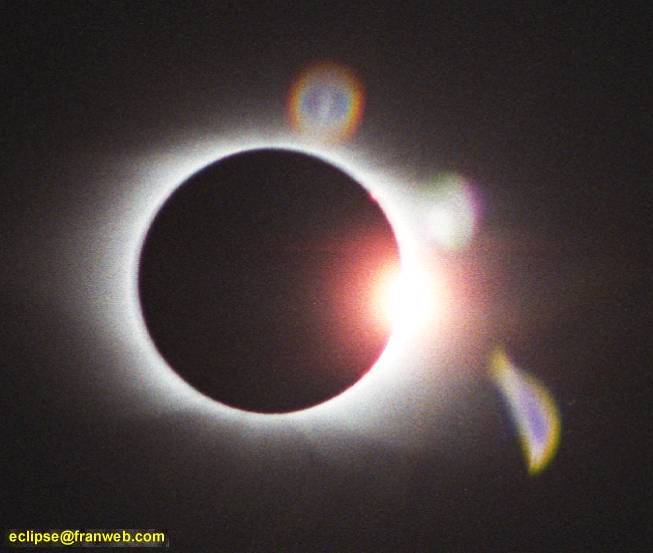
Totality
Suddenly the slow process of the moon covering the sun came to what we were all
waiting for. In an instant the remaining thin stripe of sun left visible by the moon's
path became an intense dot which then diminished as the spectacular corona appeared around
the moon's shadow. Night suddenly struck. We all removed our glasses, and filters, to gaze
upon this once in a lifetime experience. "This is great...incredible...I never
dreamed this would be so great!" shouted one of us. Indeed this phenomenon is
indescribable. I've seen a couple of videos and pictures of eclipses, but feeling and
observing one for real is something else. The pictures presented on this page and the ones
you may find in the references are just pictures. Observing this yourself is breathtaking,
even if you are watching it without telescopic equipment. The sensations surrounding the
event are many although in our case we didn't see any birds or animals going back to their
nests. The wind changes abruptly in temperature, direction and intensity. You suddenly are
immersed in a fake night. Stars and planets can be seen (Mercury, Jupiter and Venus close
to the sun and Mars and Saturn further away). In the center of all this glory we gazed
upon a ring of light with a perfectly round hole inside. You have to experience this for
real to feel these sensations.
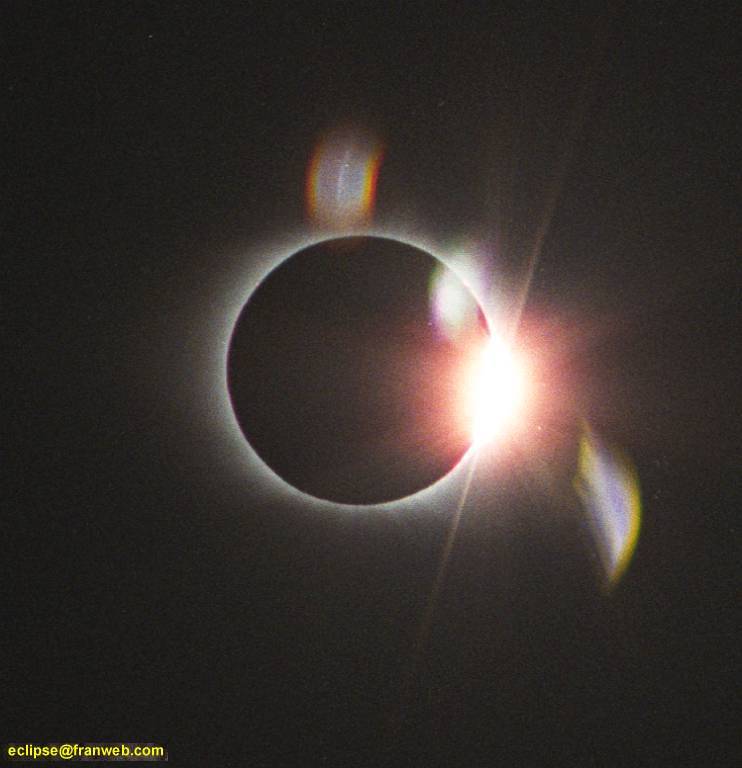
Second Partial Phase
This gift of nature lasted around 4 minutes when suddenly a small, intense, dot
of light appeared to the right of the corona converting itself into a thin line. Everyone
regretted the end of the total phase. The excitement was over. Now it would be similar to
what we had already seen but in reverse. Soon, many of the other observers nearby started
packing their things and heading back. Indeed, after observing the impressiveness
of the
total phase, the second partial phase is not appealing. We gazed and photographed this
phase for about 30 minutes and then packed our gear and left, always glimpsing at the sun
during our hour long trip back to Maracaibo.
Final Recommendations
Observation
We never maintained a sustained look at the sun during the partial phases wearing the
special glasses. It is recommended to look at it for a few seconds and then rest your
eyes. A 5 to 10 seconds per minute ratio is recommended.
General Photography
I recommend sticking to one camera throughout the event. I had to operate both the video and
still cameras which resulted in times when one or the other camera wasn't used.
If possible, practice photographing the sun at your observation site so you can learn what
inconveniences are present there. In our case we had very hard wind which wobbled
the
cameras a lot.
Get various degrees of filters. I had to remove the filters on the cameras around 95%
totality because there wasn't enough light getting through. When I did this I then got
overexposed pictures until totality.
Video Photography
Take plenty of fully charged batteries if you plan on recording the complete phenomenon.
Make sure you have enough tape.
Try to get the best tripod you can get your hands on. This will help you pan smother.
Still Photography
My 300mm f5.6 lens was OK for most of the shots. Maybe a 600mm would have been better.
Have a second camera with a 50mm f1.8 lens ready so you can take some wide field pictures
during totality.
USE A GOOD TRIPOD AND REMOTE RELEASE, OR TIMER, DURING ALL THE PICTURES. I foolishly hand
held all my shots which resulted in small movements during the exposures, specially during
the totality shots.
Use a tape recorder to record your impressions and camera settings during the shoot.
Plan your shots (only use 36 exposure film) and load a new roll just before totality
begins.
I thought about placing another camera timed to take a picture of ourselves every 30
seconds, but it was too late. This would be a cool idea since you can later see the
illumination differences before, during and after the total phase, besides recording your
movements. This could also be achieved with another video camera.
Multiple exposure photography is another possibility.
Comments
I hope this chronicle and advice can help you enjoy the extraordinary experience of
observing a total eclipse.
P.S.
Remember to bring plenty of beverages, an ice filled cooler, snacks and meals.
References
http://planets.gsfc.nasa.gov/eclipse/TSE1998/TSE1998.html
http://www.comet-track.com/eclipse/secl98/secl98.html
IMPORTANT NOTICE
These images are Copyrighted © All rights reserved.
This material may only be downloaded for personal non-commercial use. Full credits must be clearly noted on every reproduction. For commercial use contact the author. Please safeguard the future of online publishing by respecting this copyright and the rights of all other authors of material on the Internet.